This might surprise you: not every Bentley is made out of steel. Or has rubber tyres. Not, that is, when they are pianos. Be comforted by the thought that I, too, had no idea that there was a brand of wooden instrument which rolls on brass instead of rubber that basks in the shadow of that famous marque.
My ignorance was dispelled by a good friend of mine, Eric Sievers of EMS Piano fame, who had run up against a sticky problem. He was in the process of repairing a piano of the aforementioned brand when the standards – the bits that hold the action in place – simultaneously split in two. Within the piano tuning and restoration trade, this sort of thing is not regarded as a good omen.
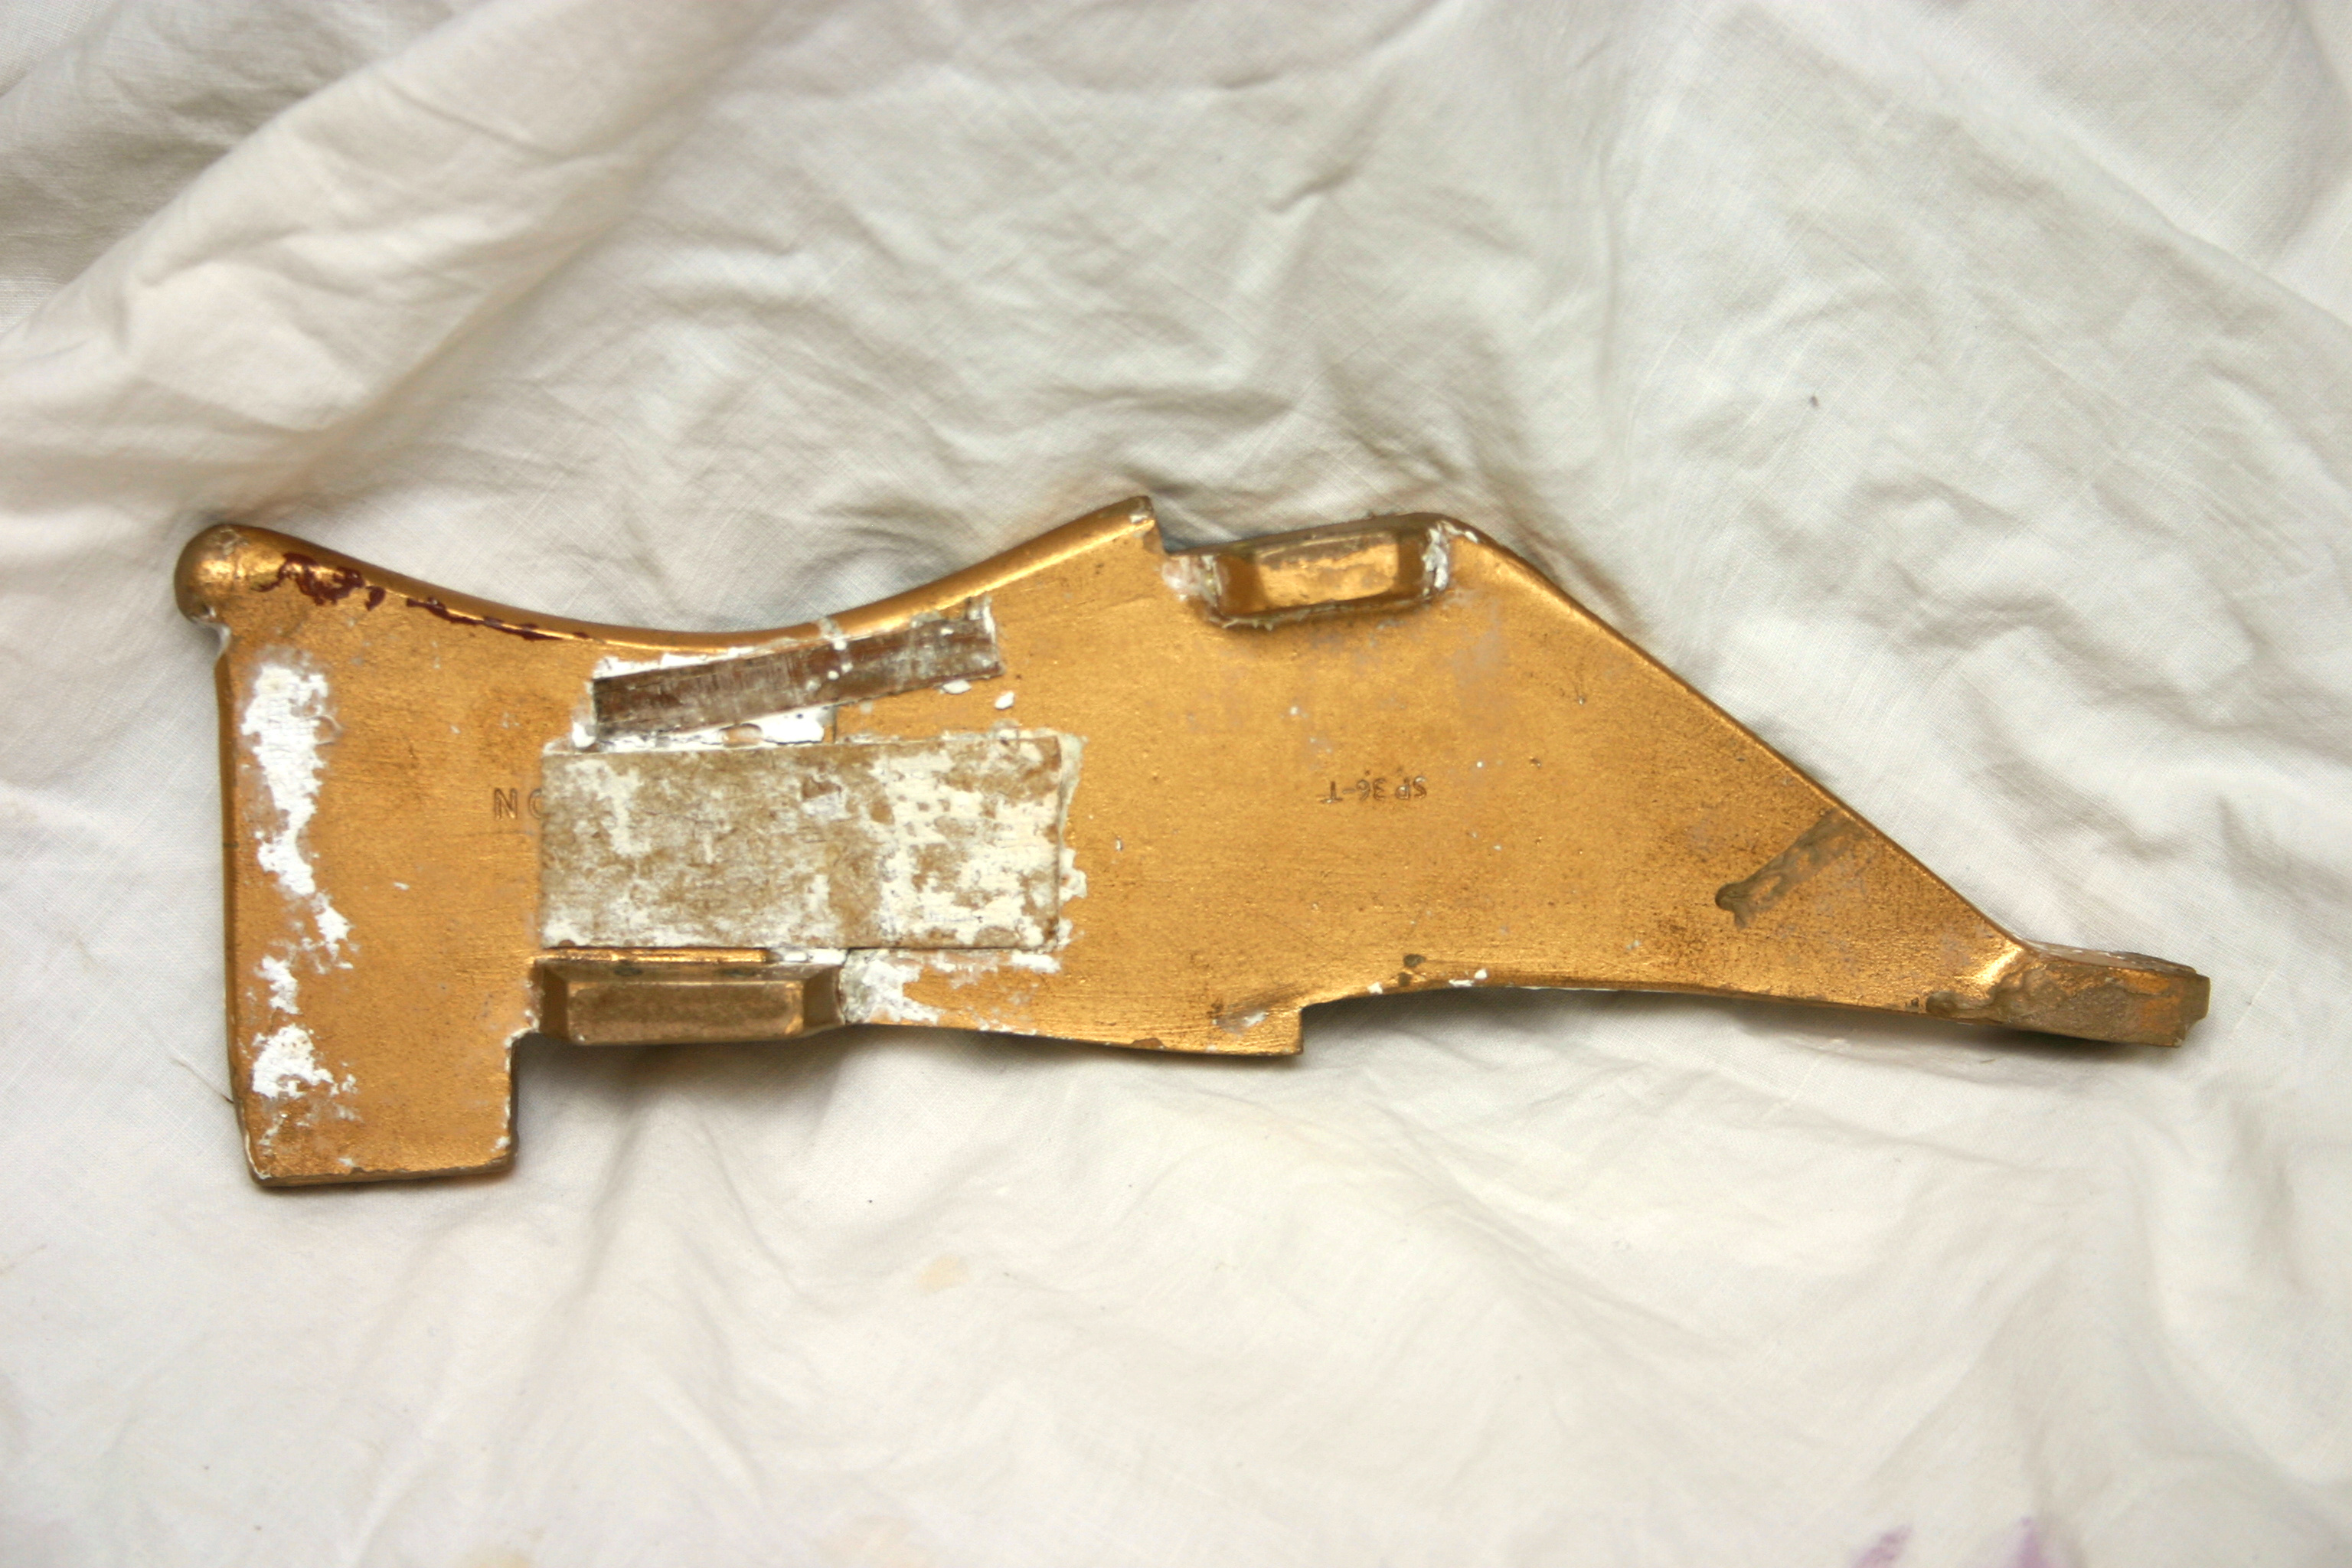
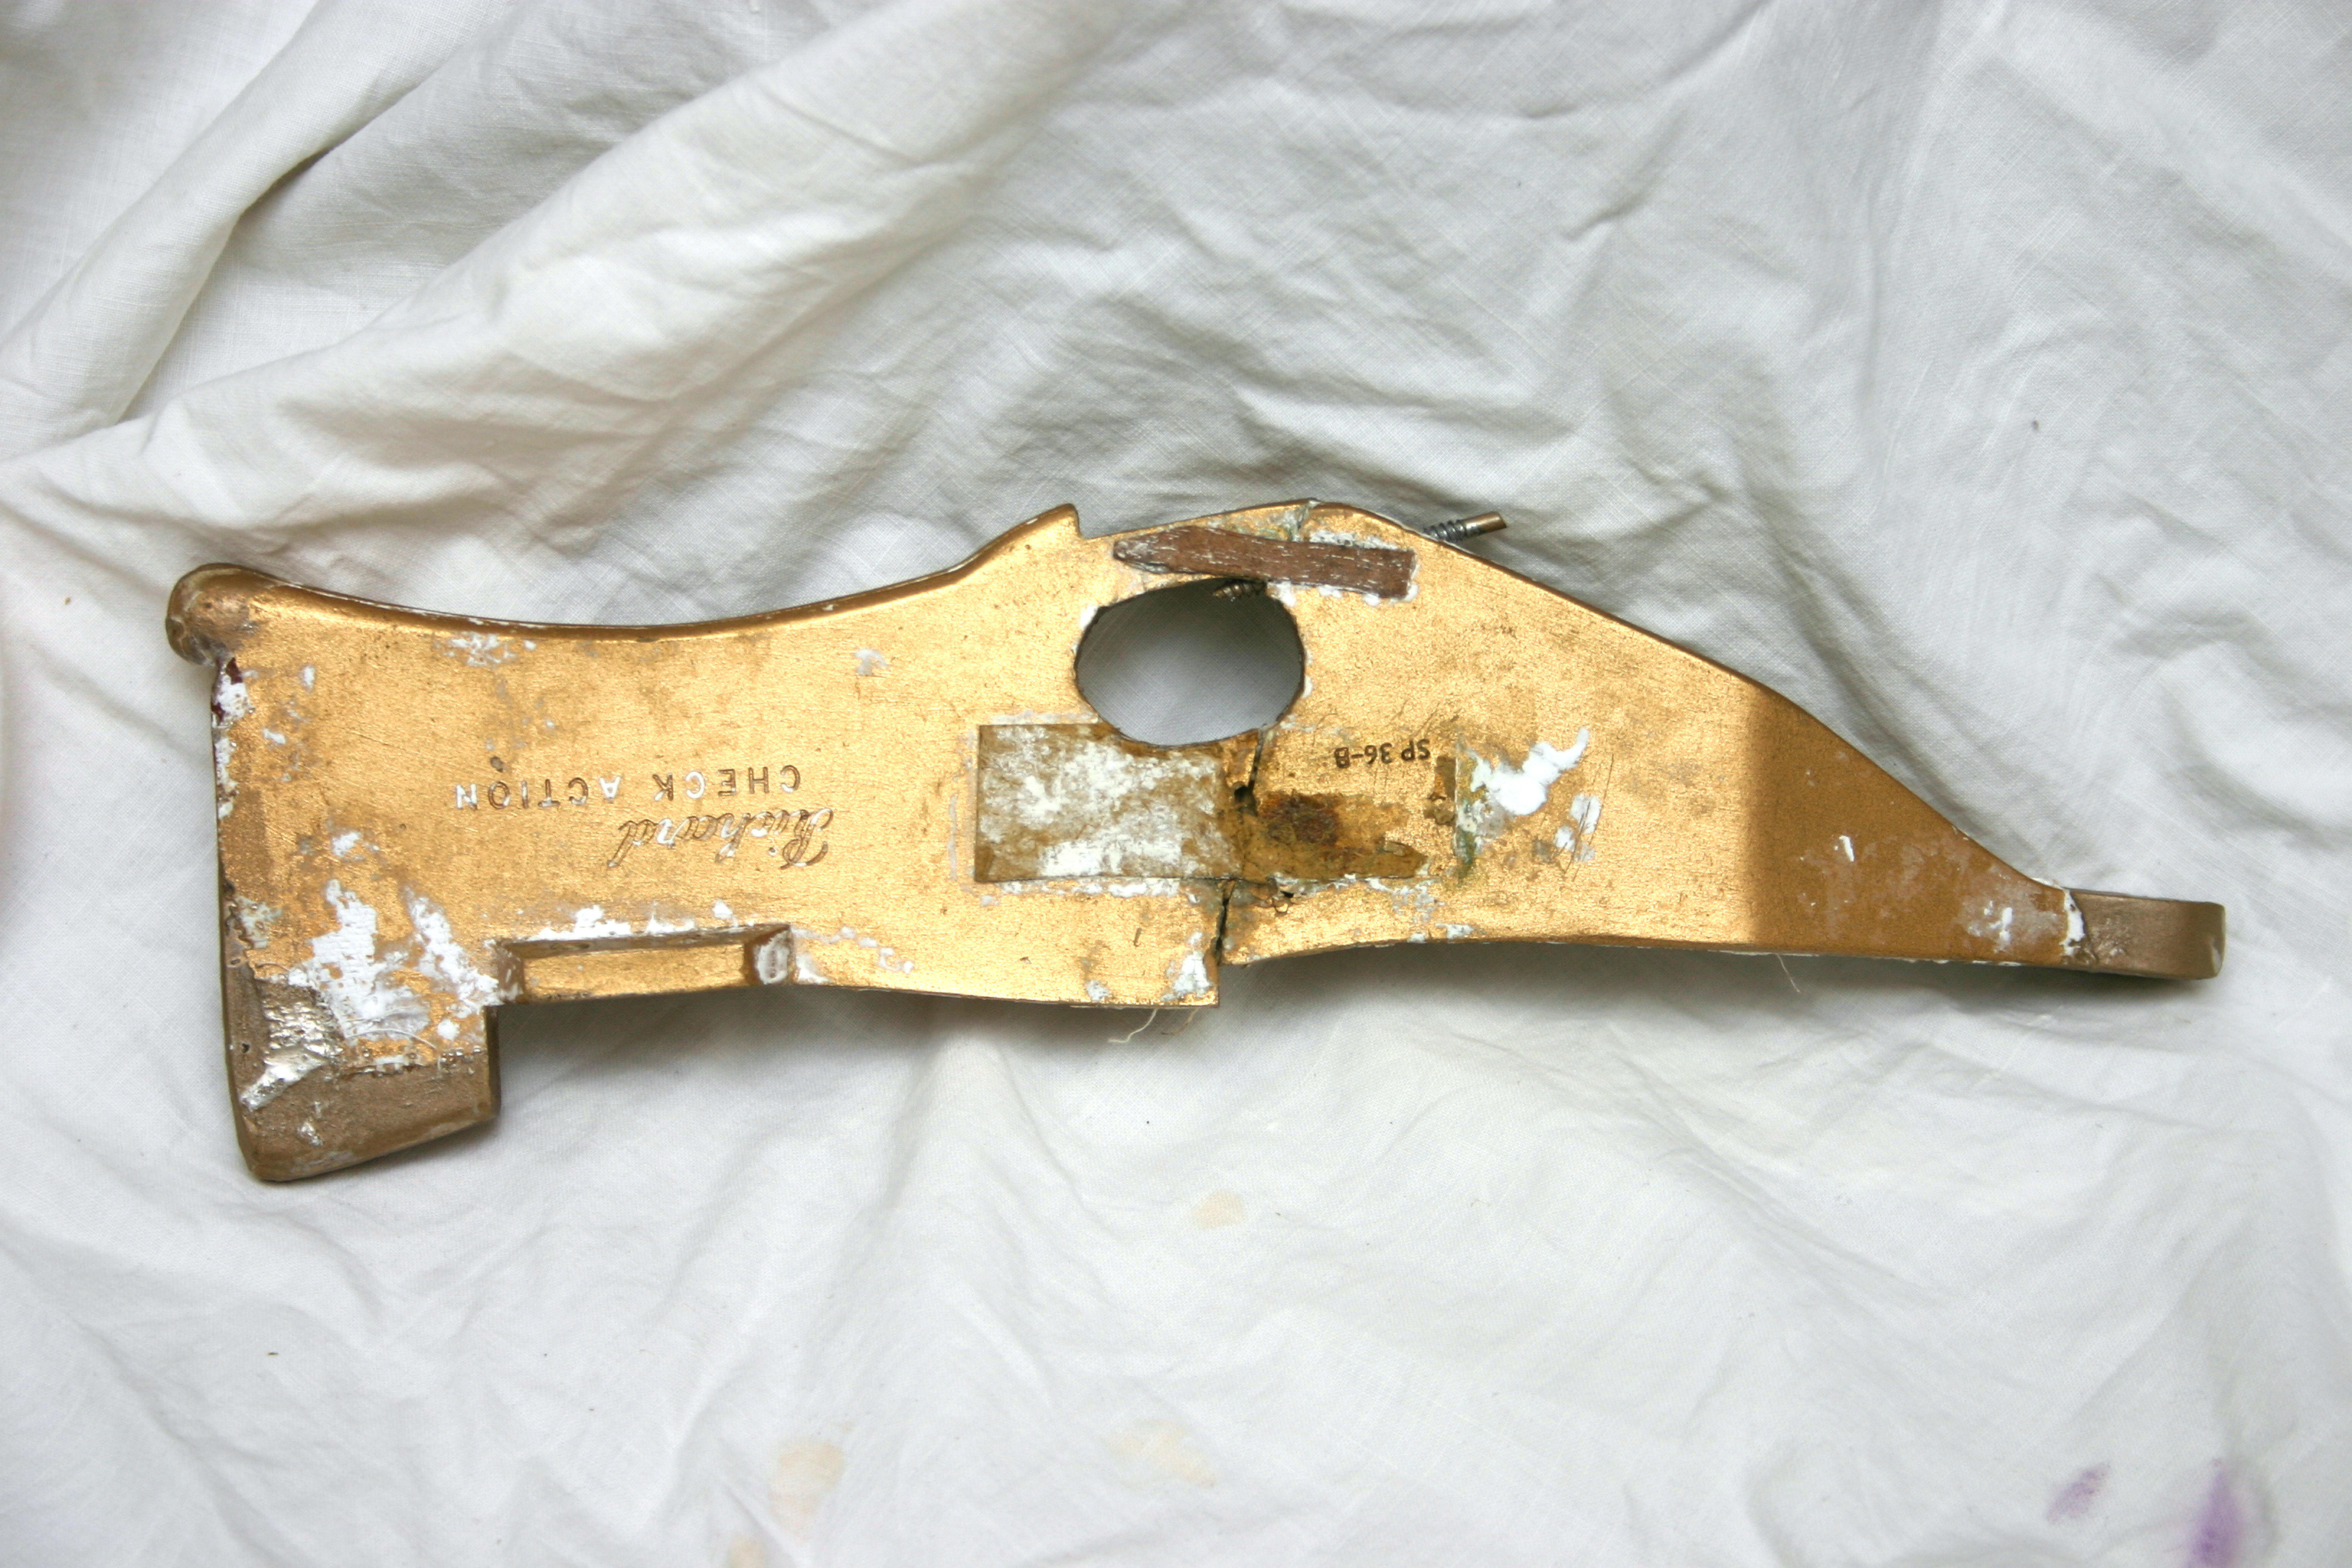
These parts are made of some kind of composite whose ingredients are as mysterious as the Mona Lisa’s smile, and repairing them proved to be an exercise in futility. Fortunately Eric knew of my CAD and 3D printing skills, and so popped over for a chinwag.
I sadly do not possess a 3D scanner, and please contact me should you wish to donate one to the cause, therefore some lateral thinking was required. Eric pointed out the critical dimensions and then left me to my devices.
This was a bit of a head scratcher. It’s very tricky to measure up something like this successfully without specialist equipment, and there was very little wiggle room. The piano was located beyond my meagre means of travel, my old mare being rather flat-footed these days, so it was case of reverse-engineering the damaged parts I had at hand and working with the piano restorer to ensure they would fit correctly.
Working around the lack of a 3D scanner (all donations towards one gratefully received) I scanned the standards on my trusty flatbed scanner, and used that as a starting point to model the new standards in Blender, the open-source 3D studio-in-a-box. This is not a flawless method, but comparing the scanned images with measurements taken with digital calipers, the results were pretty good.
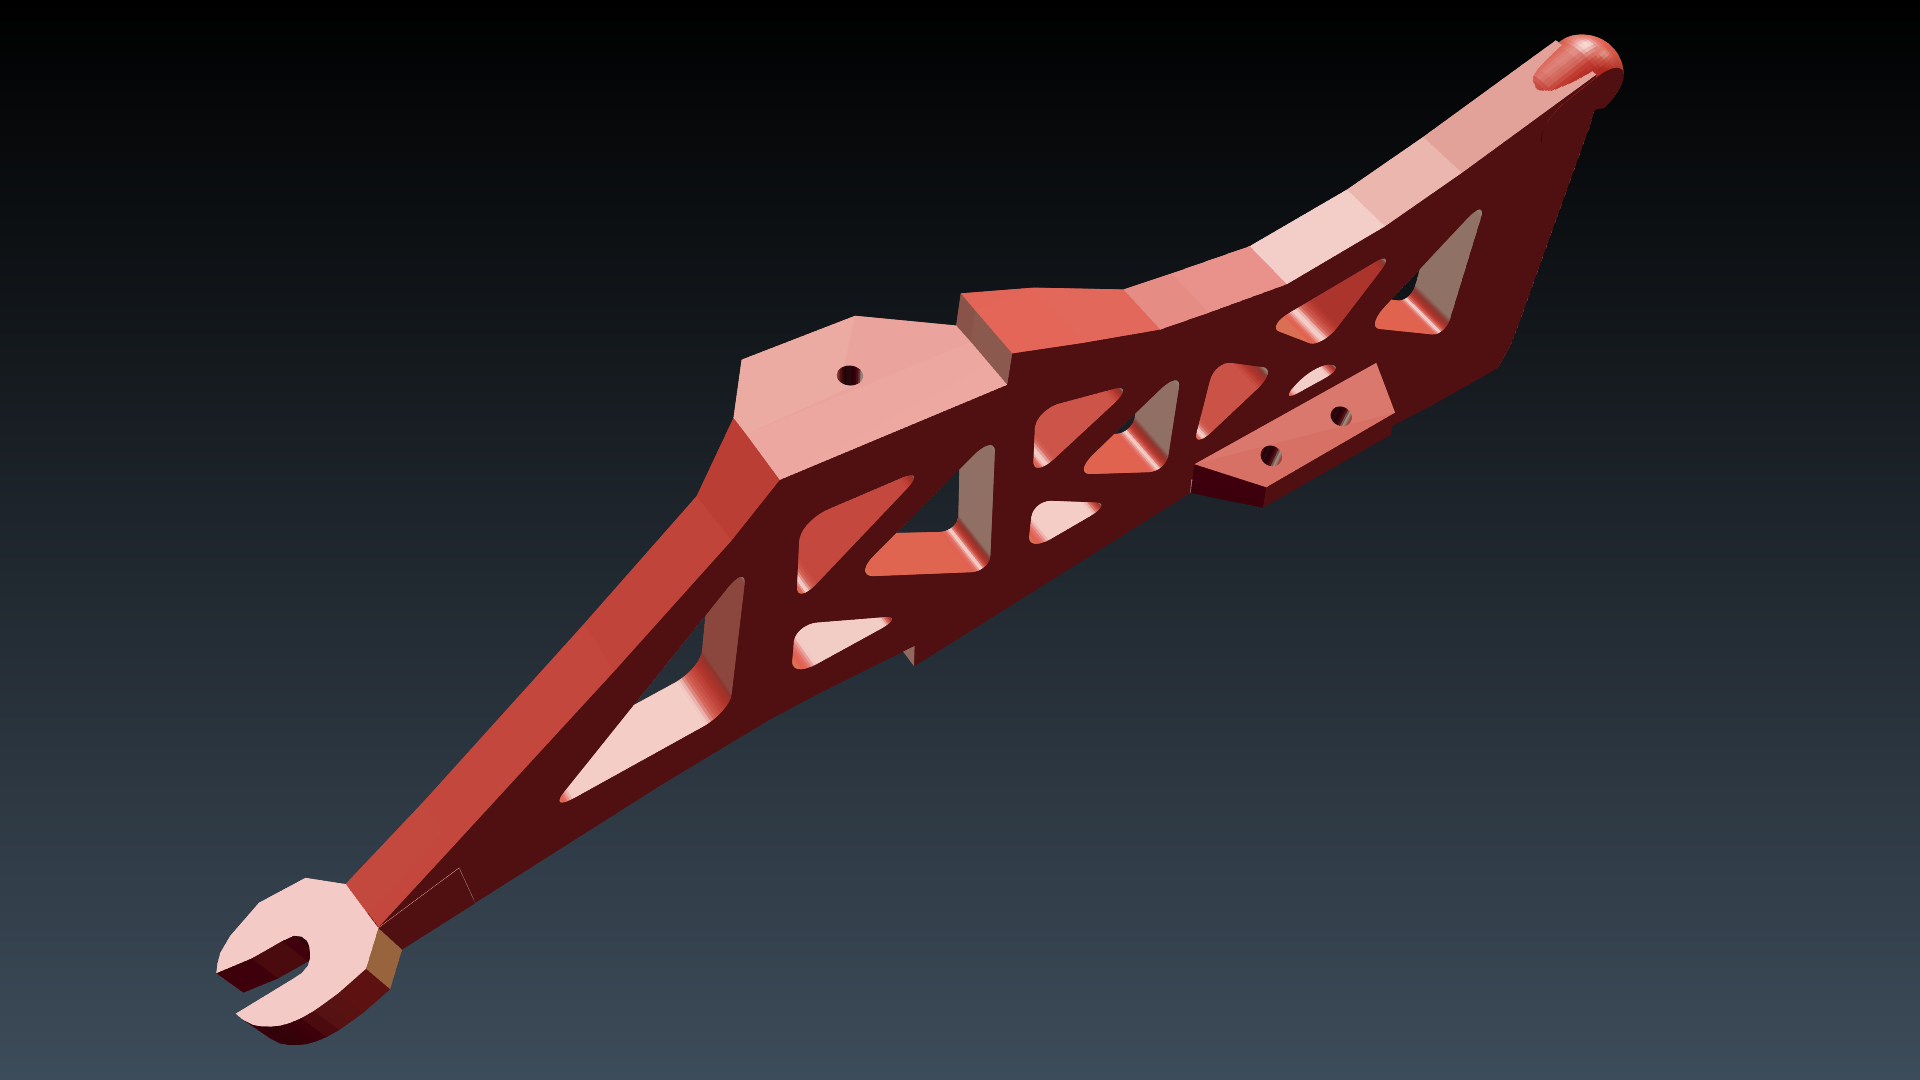
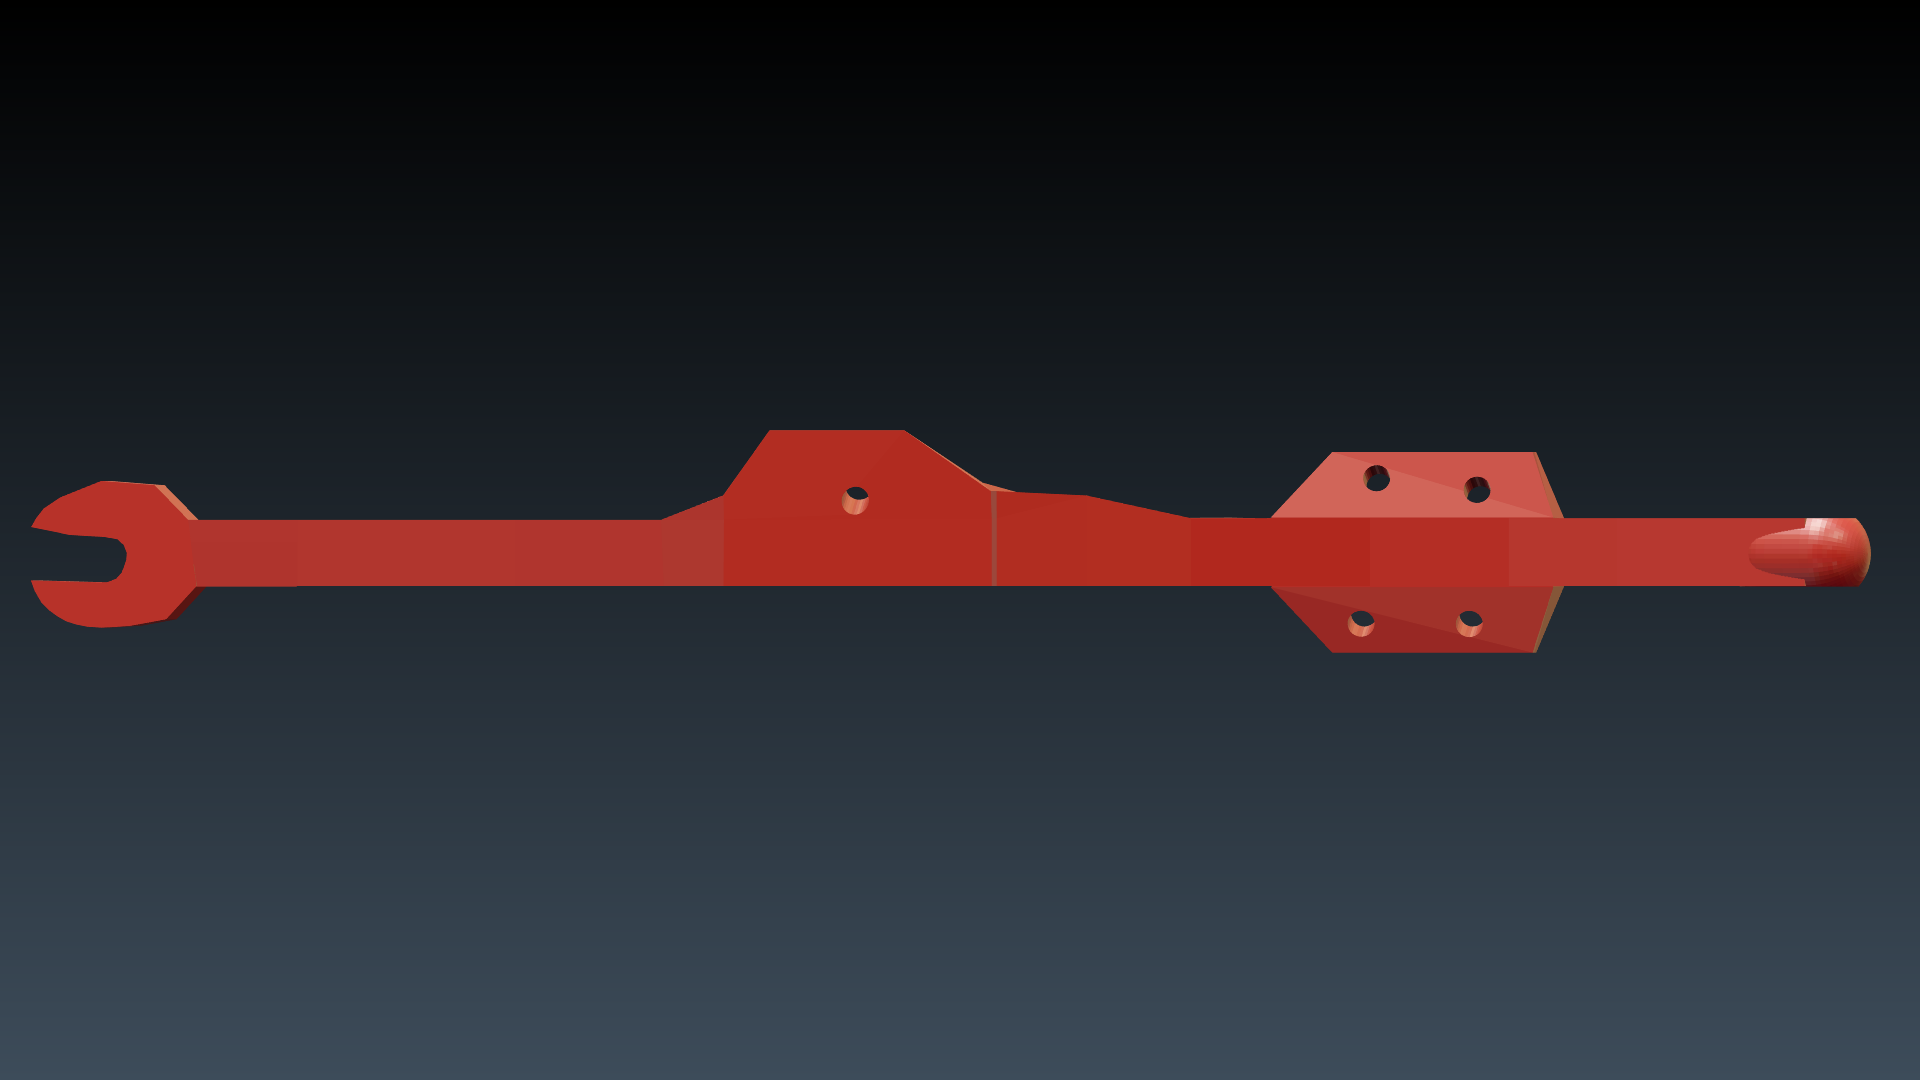
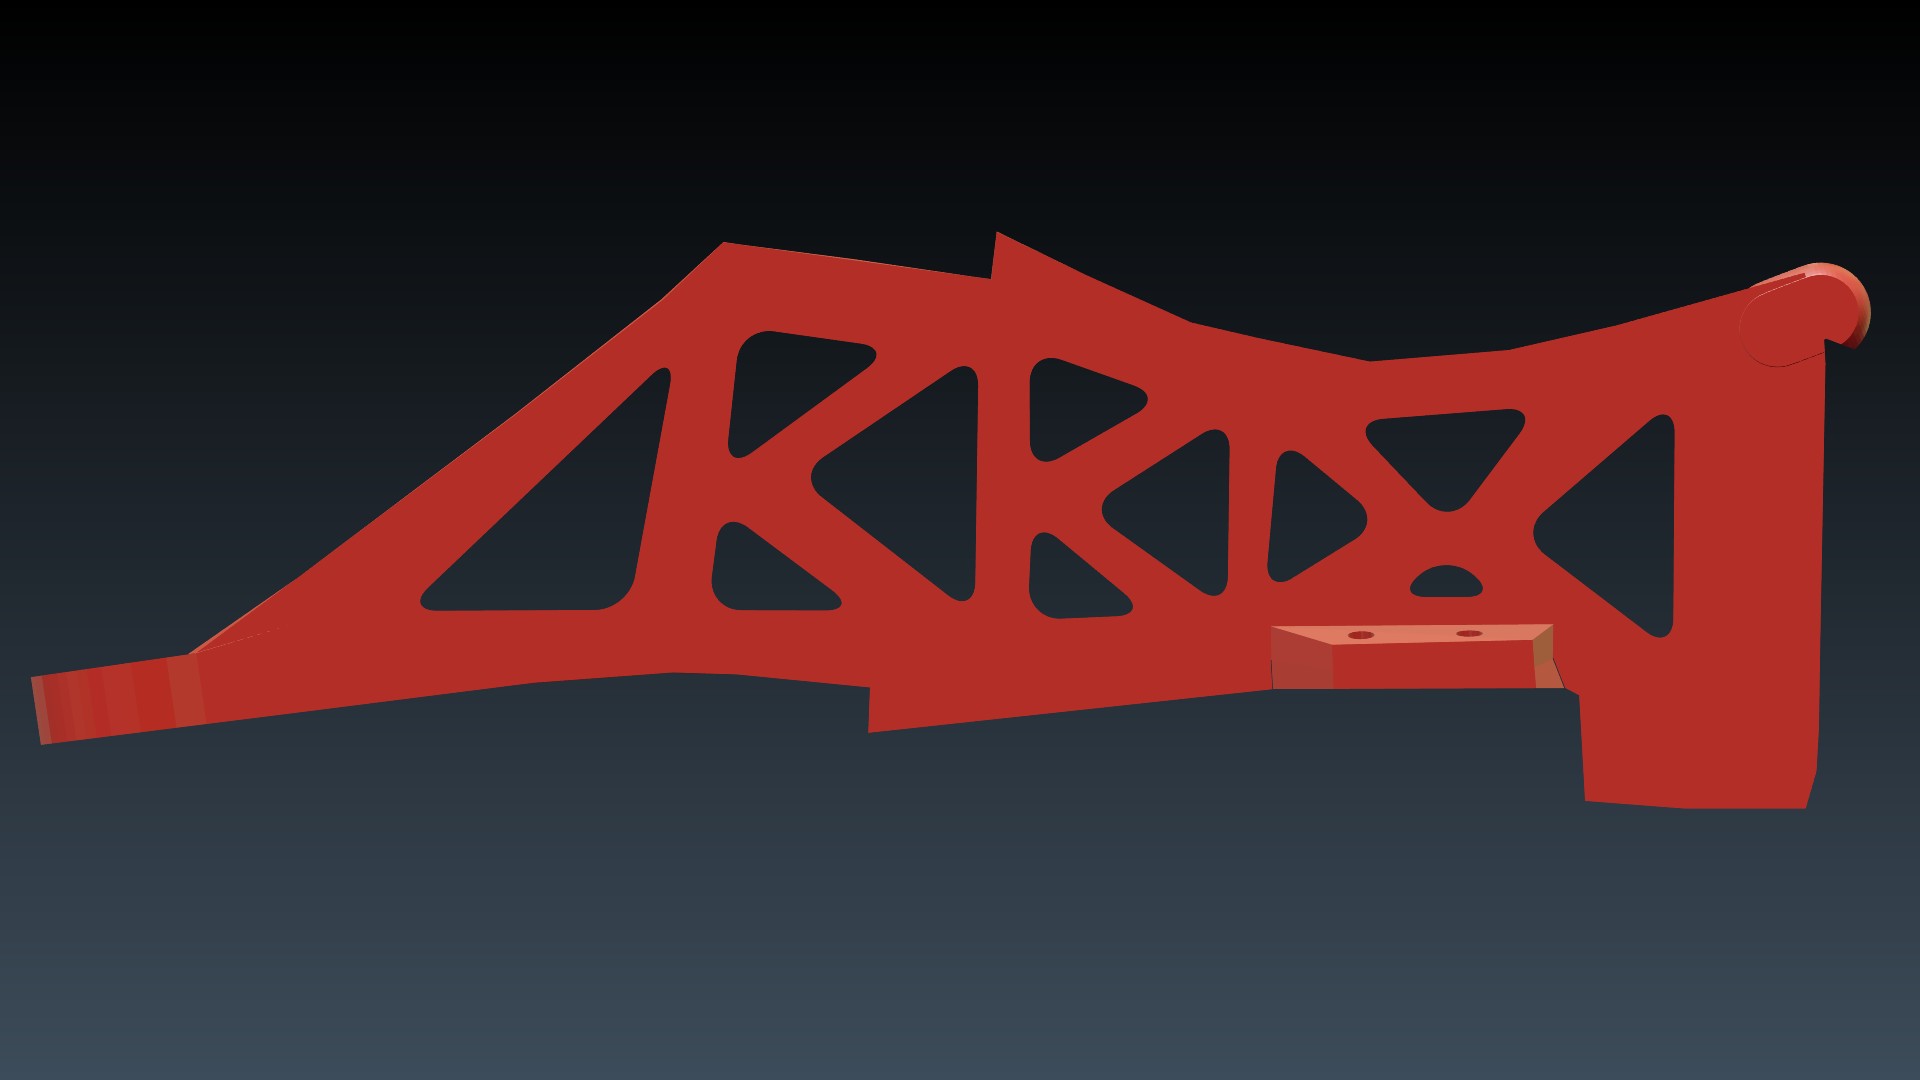
Printing these beauties, however, was a bit of a challenge on my Ultimaker 2, both because they were slightly too large for the bed to be printed in one piece, and because they required support all over the show even if they would fit on the bed in the first place. To resolve that issue, I split each standard into three pieces which were glued together after the print. No support was therefore required, and they fitted into the printer really nicely.
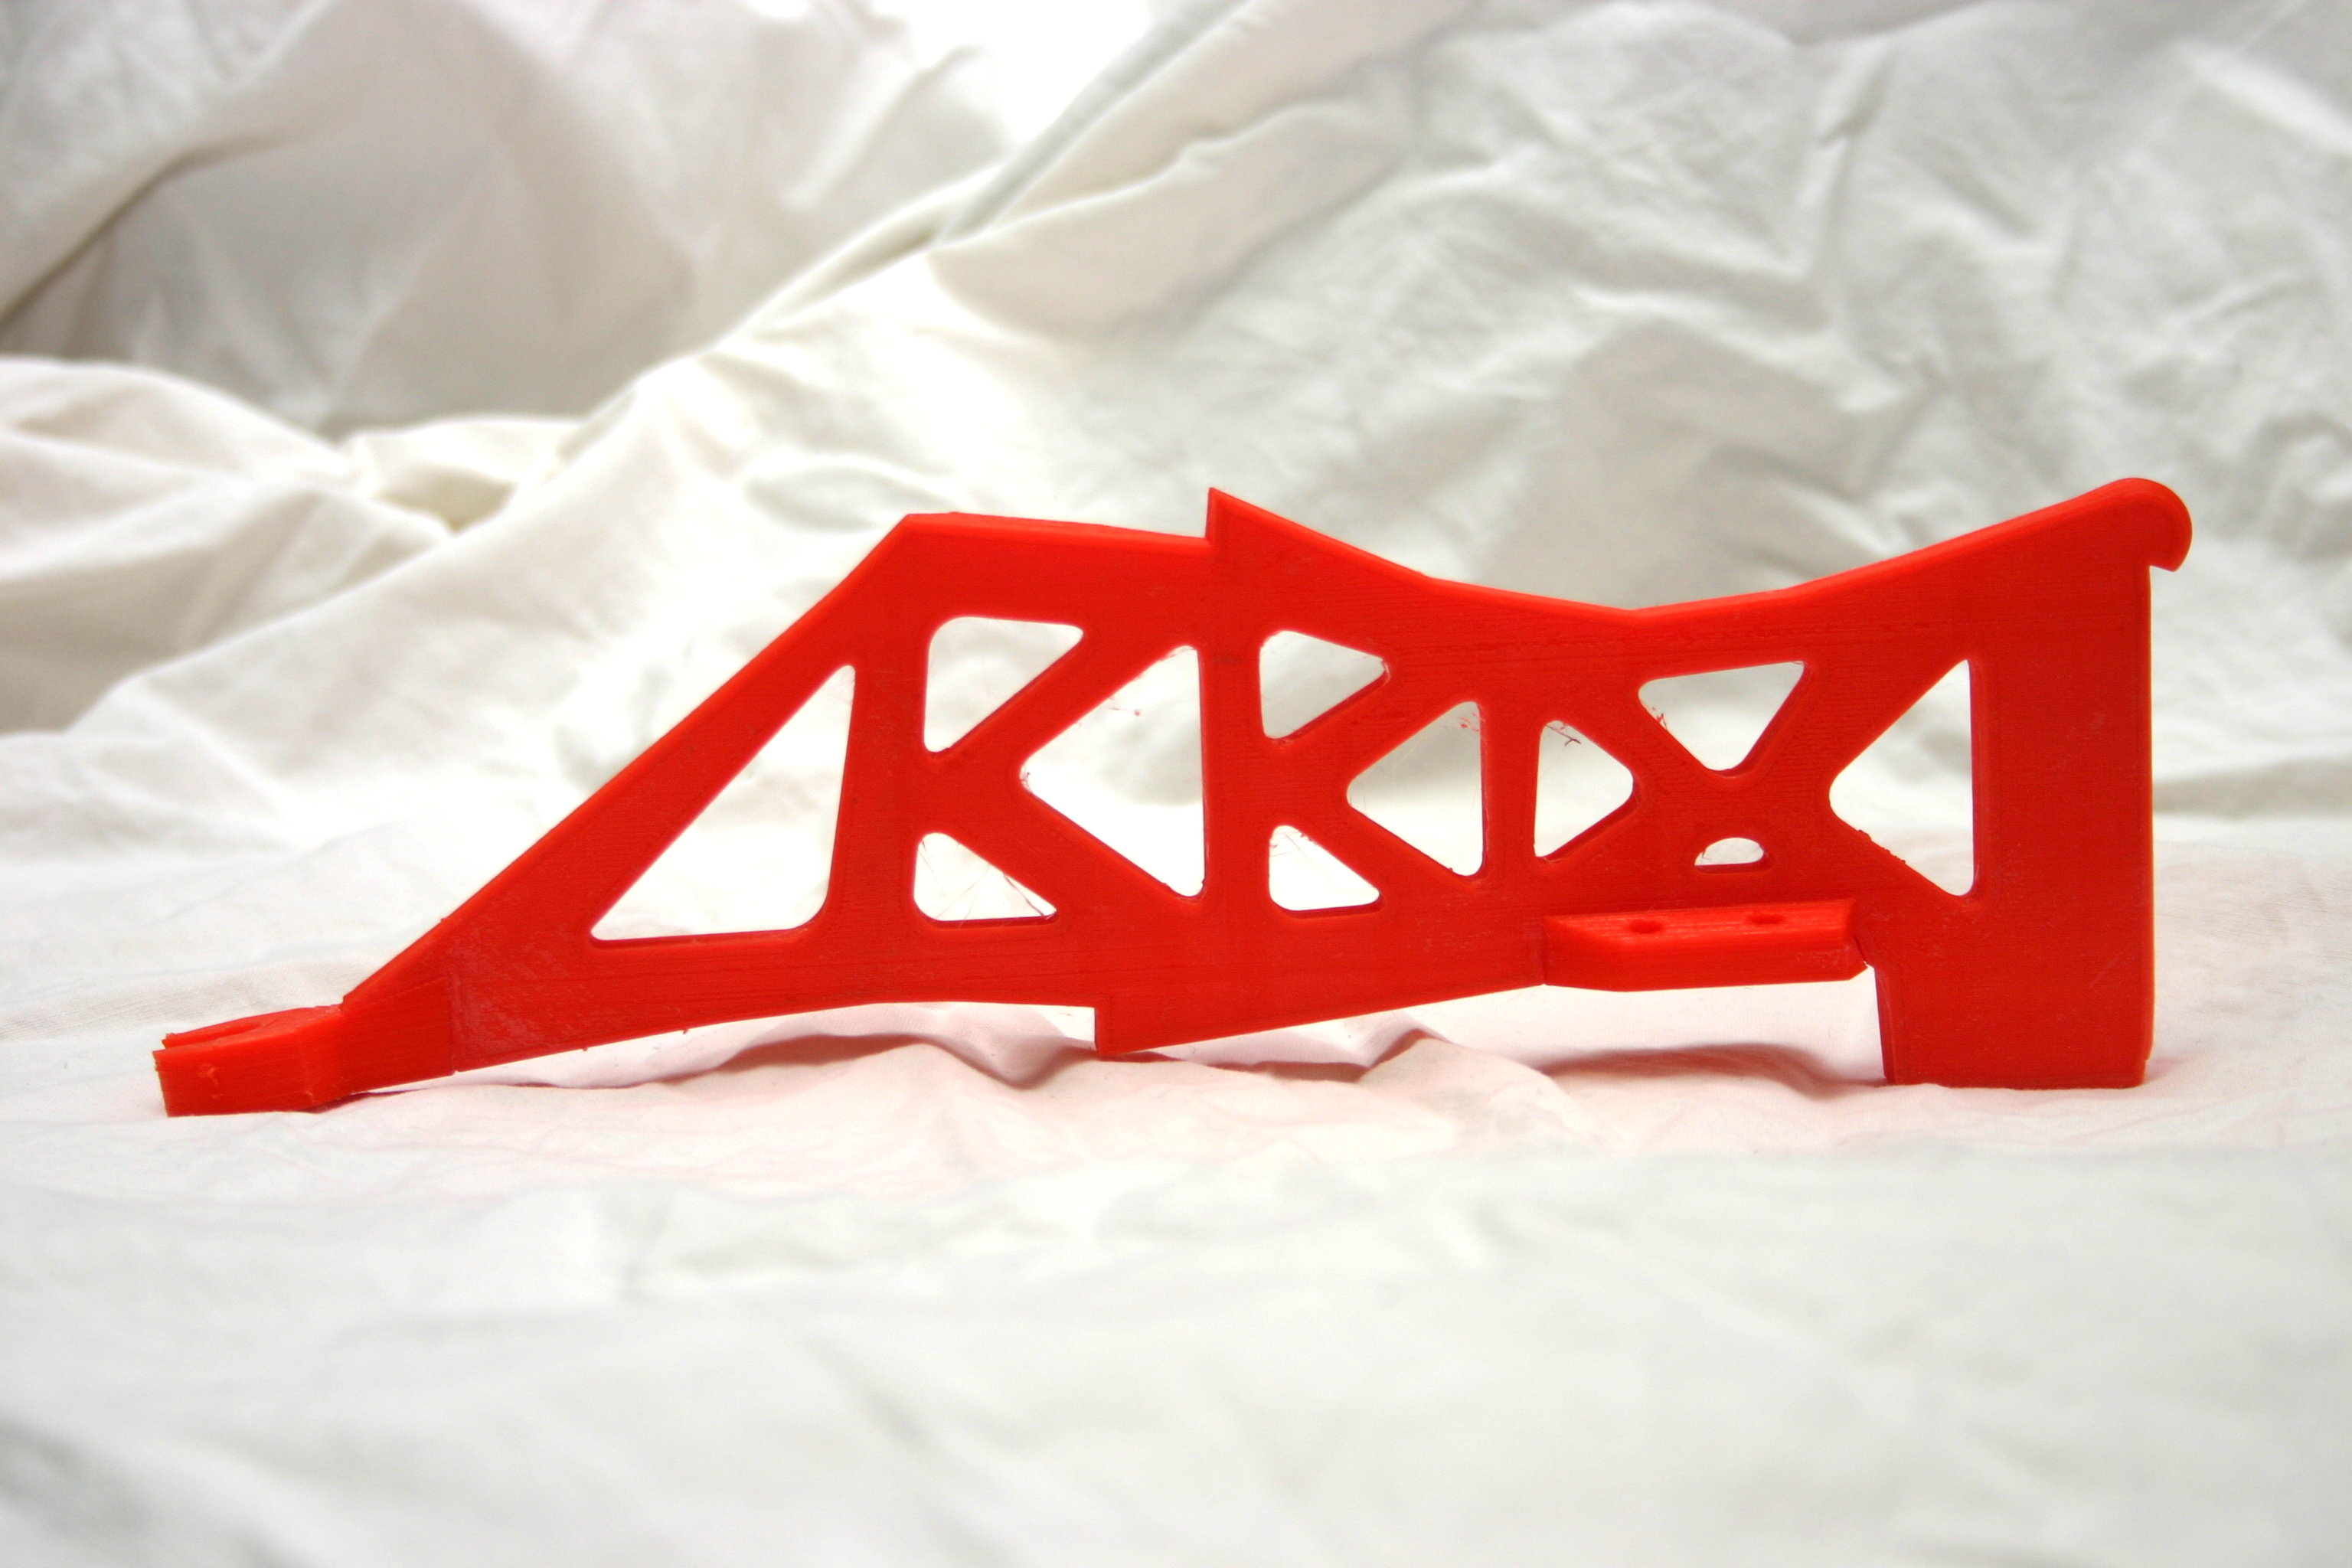
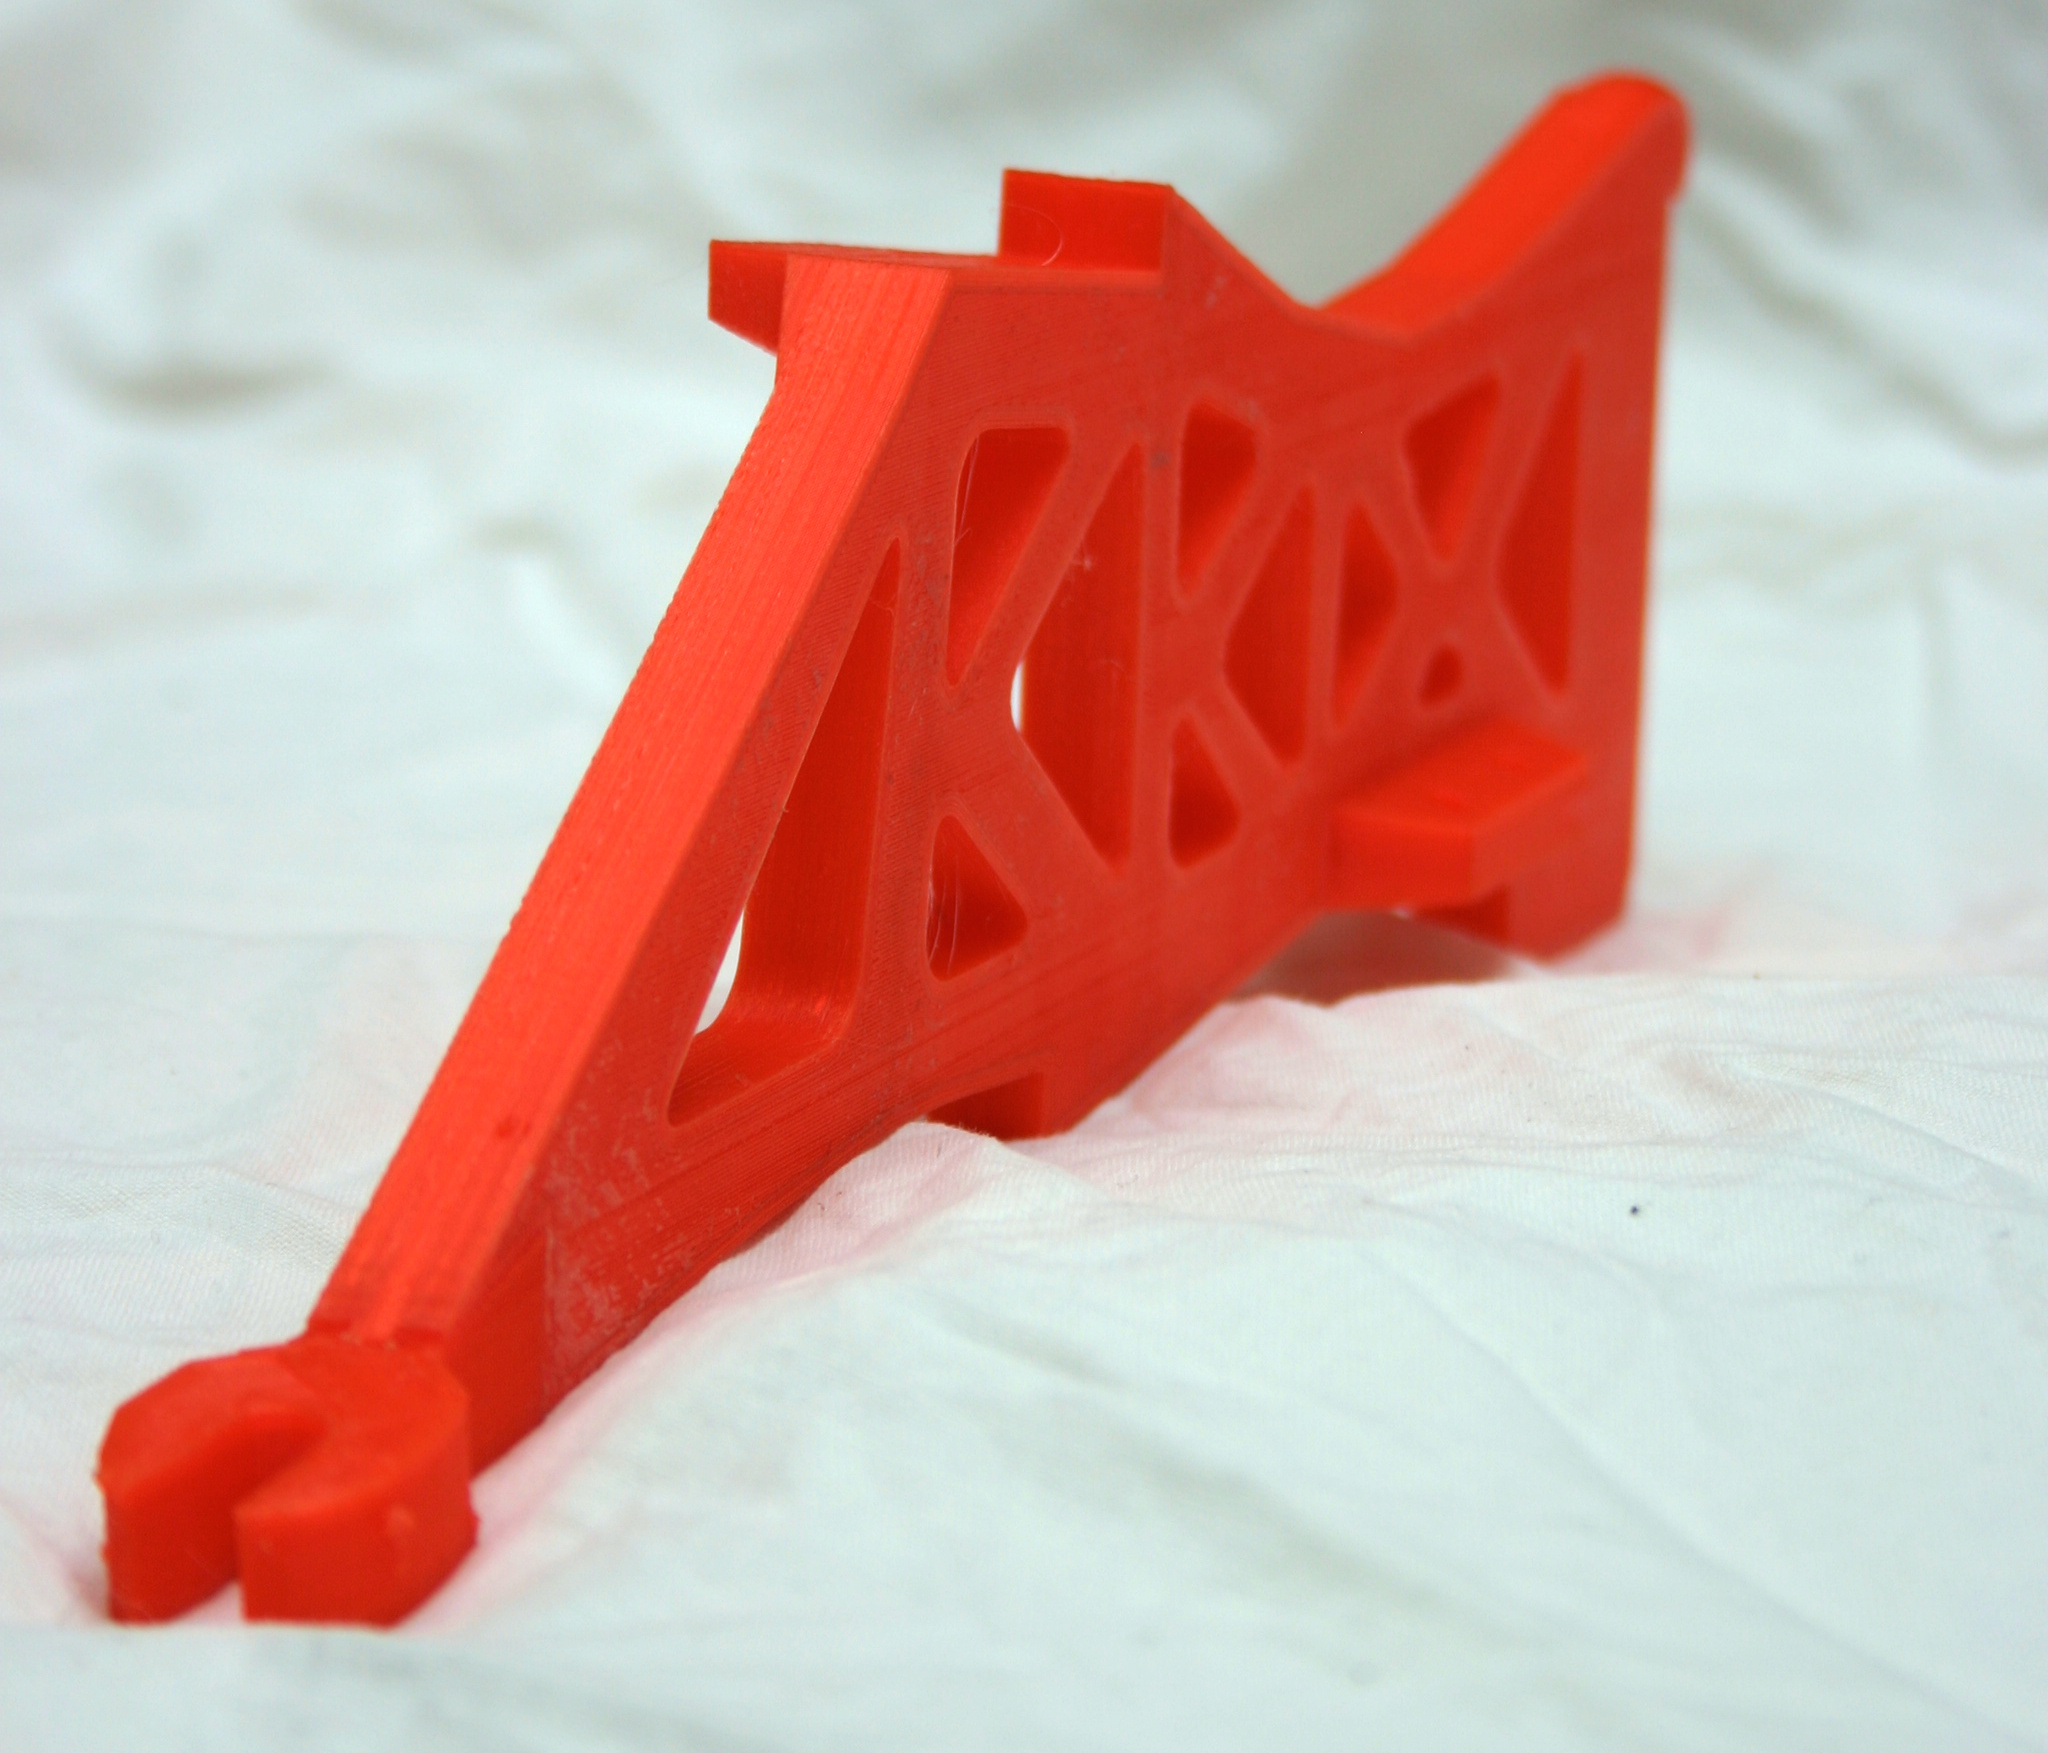
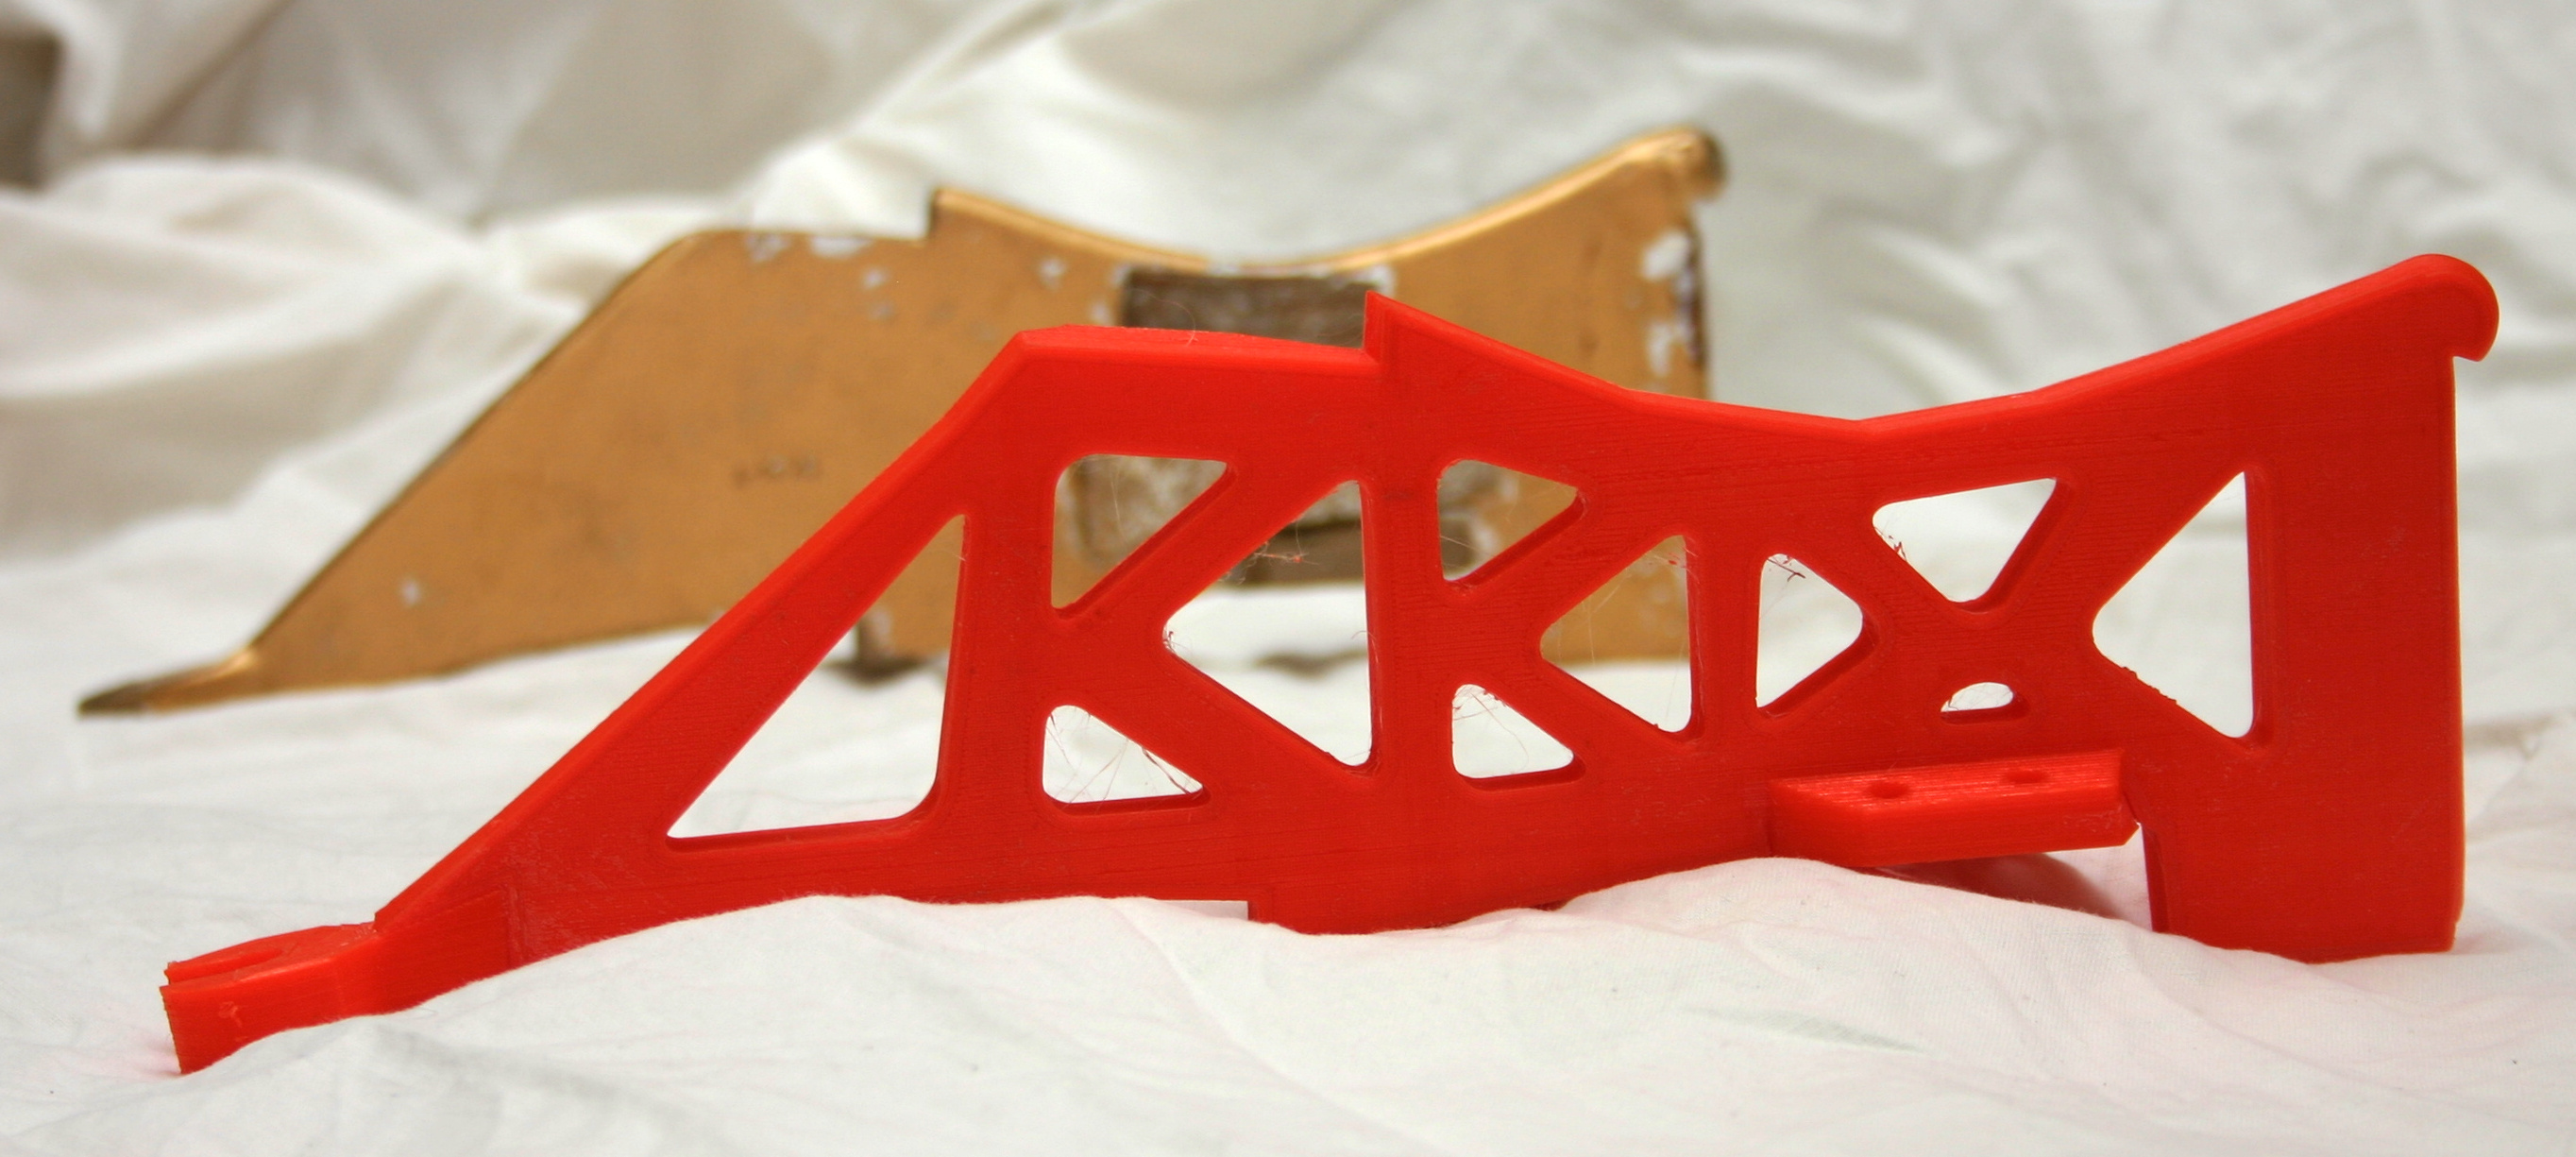
Red filament was selected for the print simply because it was the soup-de-jour, i.e. that was what the machine was eating at the time. It’s no better at doing the job than, say, hot pink – which I don’t happen to stock anyway.
All in all, it worked out quite nicely and saved a dear old instrument from the Dreaded Doom of Destruction – chalk up another success story to open-source software and open-source 3D printing!
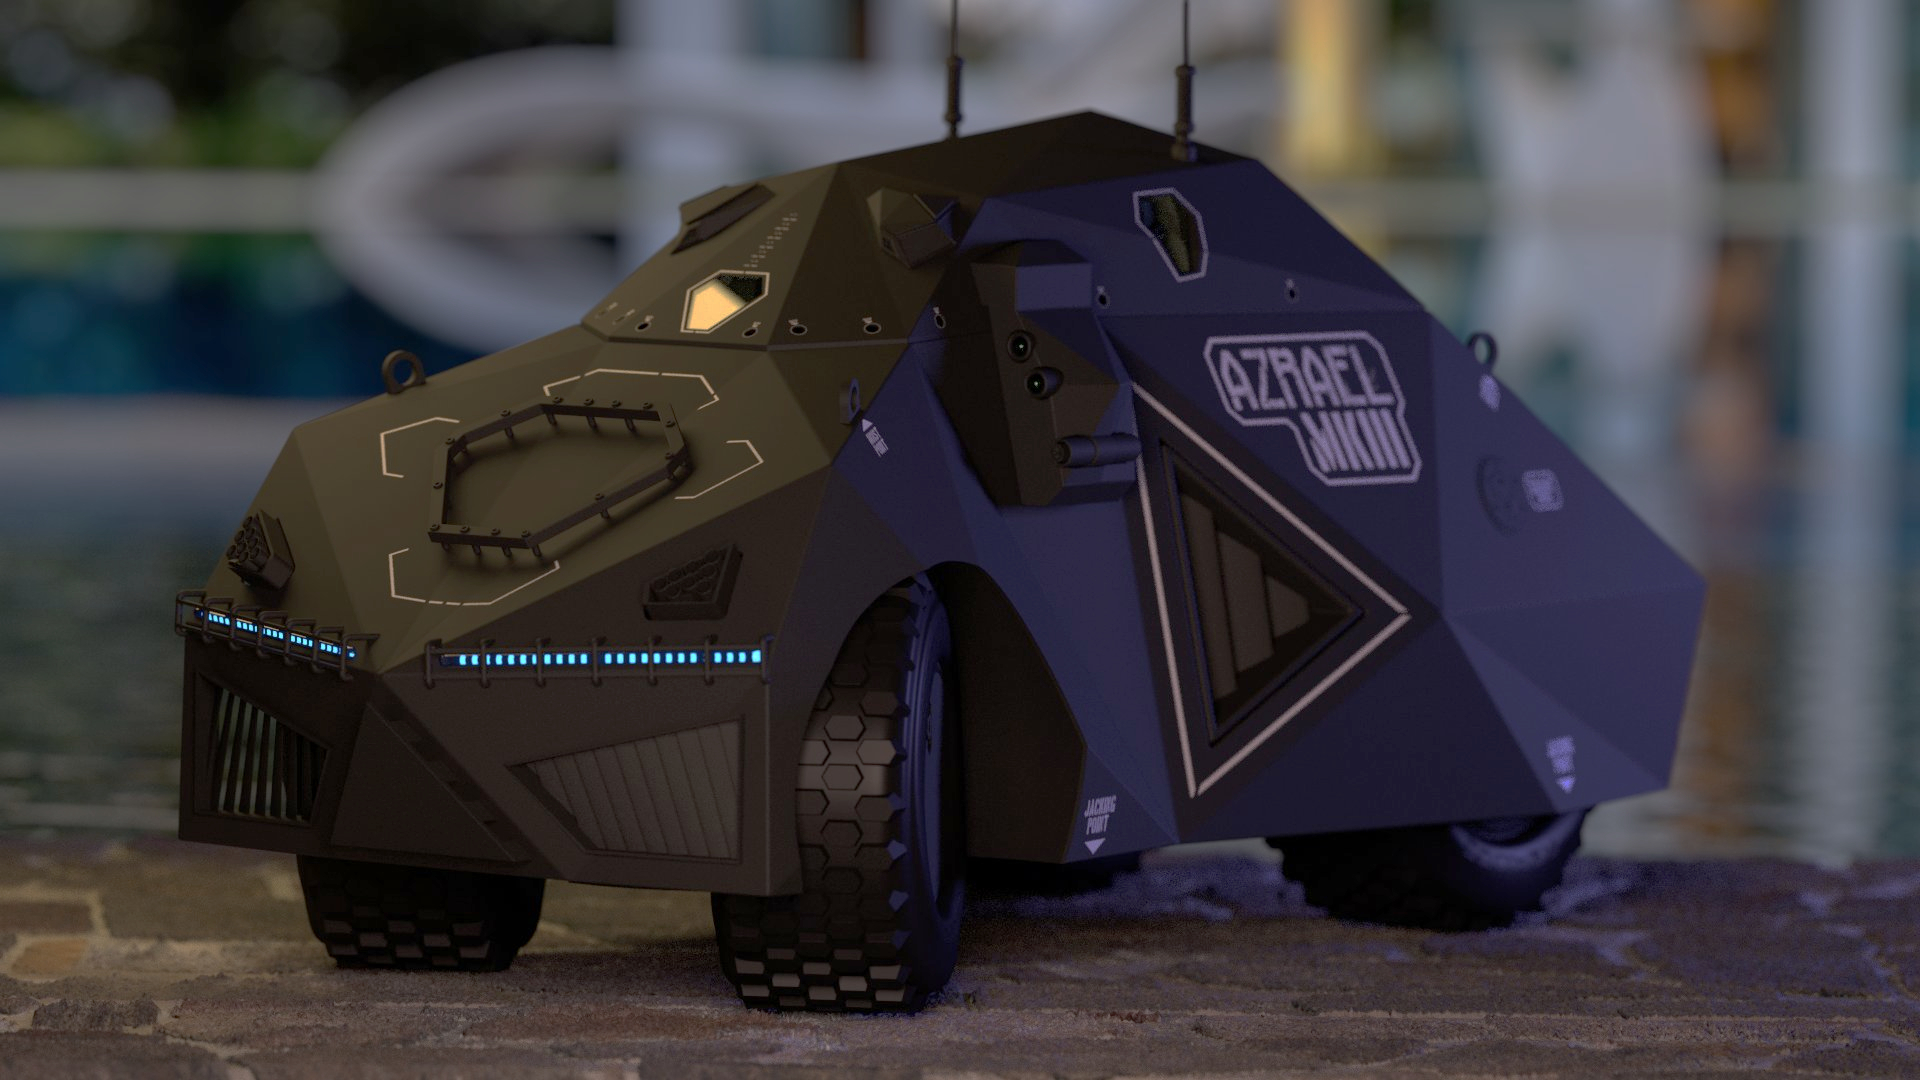 I wanted to put a remote-operated gatling on this. Client said no. Oh well. I didn’t quite get to design everything I wanted, in the end.