Sound advice

For ages I nursed along the previous incarnation of my computer until finally the day came when it’s fragmented memory gave up the ghost.

One new motherboard, processor and handful of RAM sticks later, I booted up my existing Ubuntu installation to find…that it was business as usual, just at hyper-speeds. Whereas previously I had 4GB of RAM, now I had 16GB, with space for another 16GB should the need arise. Against the previous 2.8GHz was 4GHz, and the motherboard made little difference other than having a shiny new BIOS.

One small spanner in the works though was the sound. It was horrible. It did not take long to discover that the on-board sound of the MSI Z97 Gaming motherboard was the issue, as ALSA did not like the Realtek ALC1150 Codec. Gah.

MSI have not yet discovered Linux, so I did what would appear to be the obvious and installed the Linux drivers from Realtek which was a whopping disaster. All manner of horrible things went wrong. Avoid like the plague.

I tried so many different things and forget what most of them were, but the very last thing I did was to try this advice from this page, albeit using Synaptic instead.

In short, I reinstalled the current kernel, linux-sound-base, alsa-base, alsa-utils, linux-image-“insert your kernel version here”, did not bother with linux-ubuntu-modules-“insert your kernel version here”, but did with libasound2.

Took a deep breath. Rebooted. Cranked up the amp, the volume on my PC, woke the dead.

DIY design – artisan pizzeria

ympz

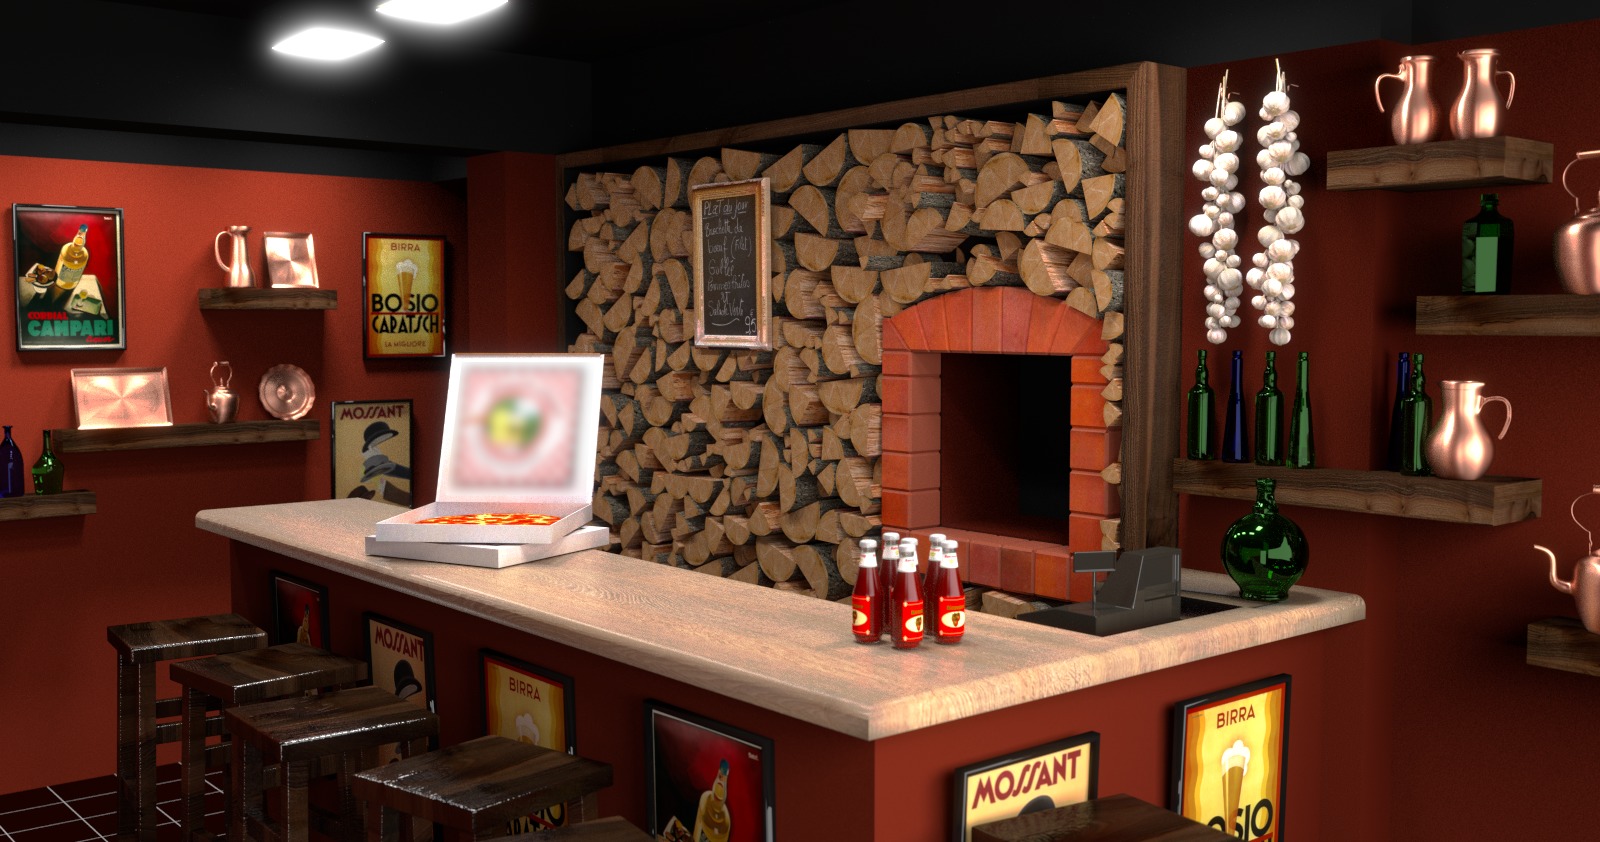
Artisan pizza store design

One of the most empowering facets of CG and the one-man-studio like me is that it allows clients to explore areas they would have never considered before.

A client recently approached me do help out with designing his wood-fired artisan pizzeria. It’s early days yet, and saving money is crucial for him. So we hashed out some ideas, and I lurched back into my cave to see what would appear.

Since I was able to show him exactly what I was thinking of, this allowed him to make some rapid decisions and save a huge amount of money over what he had originally budgeted.

The result which you see above took me all of one day to do. You can just imagine what an interior designer would charge for such a job, how long it would take to deliver and how much it would cost to have a place like this outfitted professionally.

Instead the client is simply waving around my renders to a carpenter, builder and a builder’s merchant and watching his vision coalesce into perfectly baked slices of Italian heaven. All by himself.

Epson Perfection 1650

This is a little by-the-by, an aide-memoir.

After upgrading some hardware and hacking around my Ubuntu 14.04 installation, my Epson Perfection Scanner refused to do anything but whine. Literally.

Some frustrating hour later – frustrating because I have gone through this process on a previous occasion and forgotten to record the results of my cyber perambulations – I finally discovered the magic that would calm the whining little thing down and get it to do useful things, like scanning.

It is is simply this: open /etc/sand.d/dll.conf and place a # in front of the word epson2 and remove the # from in front of the word epson.

You should have something that reads like this:

dell1600n_net
dmc
epjitsu
epson
#epson2
fujitsu
#gphoto2
genesys
gt68xx

The new black for gold

GC render 14

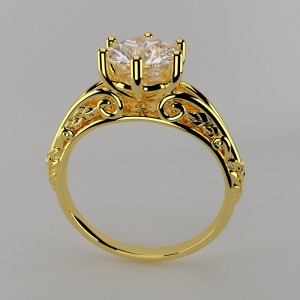
Bling has evolved little over the millenia. It’s still lumps of gold or silver with optional chips of polished rocks. For absolutely ages, each piece of jewellery was a unique hand-made, one-off piece that was cherished by its owner and handed down to the next generation to be lost, pawned, broken or have it stolen.

Then the industrial revolution led to the mass-production of ugly baubles, and here we are today with the likes of Argos filled with gaudy baubles that lure the tasteless masses, built to last – oh at least a couple of years or so. I do not blame the aforementioned company, since they are merely selling what they know their customers will buy.

Today, though, a new revolution has been born, that combines mass-production with personalization – and that is the power of 3D printing.

It allows a designer to free their shackles of mediocrity and allow their design juices to flow freely and make things of wondrous beauty. Well, up to a point, anyway, becuase 3D printing is still quite pricey.

More importantly, it allows non-designers, ordinary people from all walks of life, to have work with a designer to create the piece they have in their minds but cannotdesign themselves.

One such client of mine, Christian Genco, was so thrilled about the whole process, he wrote a long post that makes for some quite interesting reading for the neophyte.

If you are after something unique, then why not contact me? Who know where this will take you.

Convert in python shell script

This is really more of a reminder for me than anything else.

Convert is a tool from the same stable as Mogrify, and is an absolute life-saver when working with large batches of images.

Just the other day I was using it to crop some 2000 jpegs which were scans of pages from a rather thick book. The odd and even pages were offset, by which I mean that the space on the outside of the page was greater than on the inside, and I wanted to crop the pages so that they looked pretty even.

Not wanting to do this all by hand, I wrote a Python shell script to process the files.


#!/usr/bin/env python3

import subprocess
import os
import sys

path_to_jpegs = "/home/dani/big fat book/pages/"

path_to_output = path_to_jpegs + 'cropped/'

print('starting...')

file_path = path_to_jpegs

# loop through all the images in the specified folder
for filename in os.listdir(file_path):
    if ('.jpg' in filename):    
        print('@@@ processing file: ' + path_to_jpegs + filename)

        # file number is needed in order to determine of the file is an odd or even page
        dot_pos = filename.find('.')
        file_number = int(filename[:dot_pos])
        
        # switch coords depending if this file is even or odd
        # left page
        if (file_number % 2 == 0):
            #coords = '1940x2720+966+240'
            coords = '1940x2720+400+238'
        # right page
        else:
            #coords = '1940x2720+400+238'
            coords = '1940x2720+966+240'
        
        subprocess.call(['convert', '-crop', coords, path_to_jpegs + filename, path_to_output + filename])

CGI is the new real

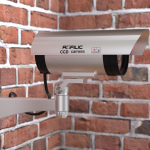
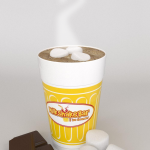
For quite a while now I have had clients approach me to re-create existing products that they have failed to had photographed well. They are selling these products on Ebay, Amazon, their own websites and other online outlets and require high-quality, bright, sparkly and above oh-so-real images.

They can range from high-end watches to simple plastic utensils, with just about everything in between. CGI really is the new real these days…

LC gc render au01 CL render 09 JC cam render 15 0001 milkshake bar coffee RC render 15


Mogrify – more pleasant than it sounds

If you are lucky or smart enough to use Ubuntu, then you have a wealth of tools sitting just under your keyboard that you might know owt about.

Two of those are the convert and mogrify tools, which come from the Imagemagick stable. I use these quite frequently for batch conversion jobs.

Here is an example of what these tools can do, specifically mogrify which acts on batches of files.

I have a folder load of transparent images that the client wants on a white background, so I open the command line, navigate to that folder (or just open the command line in that folder directly using Nemo instead of Nautilus) and type the following incantation:

mogrify -format jpg -quality 100 -fill white -opaque none *.png

If we break this down into individual components, then

mogrify this is the command itself

-format jpg The output format, in this case jpg

-quality 100 for jpgs specifies the compression or quality levels. 100 is tops, 1 is rubbish.

-fill white the colour of the fill which will be determined by the next command.

-opaque none deals with the alpha (transparency) channel, by filling it with a colour, which has handily just been specified.

*.png simply tells mogrify to grab any file that ends in “.png”


Furniture design

When it comes to bespoke furniture, most people have only a vague idea of how to express what they want. This makes the carpenter’s job difficult, since not only do they have perfect their craft, they also have to somehow pick on the psychology and dark art of interpreting their client’s scribbles and grunts into something that is both aesthetically pleasing and practical to them.

This is where CG really brings this ancient craft into the 21st century.

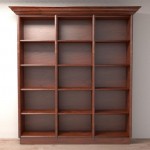
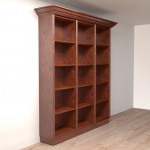
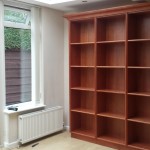
The client wanted a fancy bookshelf, but wanted to see what it would look like before they ordered it; a good trick if you can do it.

In the end the result was quite successful, and the client received a preview that matched their expectations and the final result.

bookshelf preview front perspective bookshelf preview side perspective bookshelf delivered

Context woes

This hardly warrants anything more than a few quick lines.

This line was bombing out:

bpy.ops.object.modifier_apply(modifier = 'Bla')

Well, the “wrong context” error reared its ugly head. That’s because there was nothing selected in the scene, even though there was an active object.

So, when calling the above operator, ensure that there is a selected, active object in the scene.

Calling

bpy.data.scenes[0].objects.active = some_obj

can save lives.

Hmm, not what I expected, but cool nonetheless

This does happen on the odd occasion, and it is rather like receiving an unexpected gift, which I suppose it is in some way.

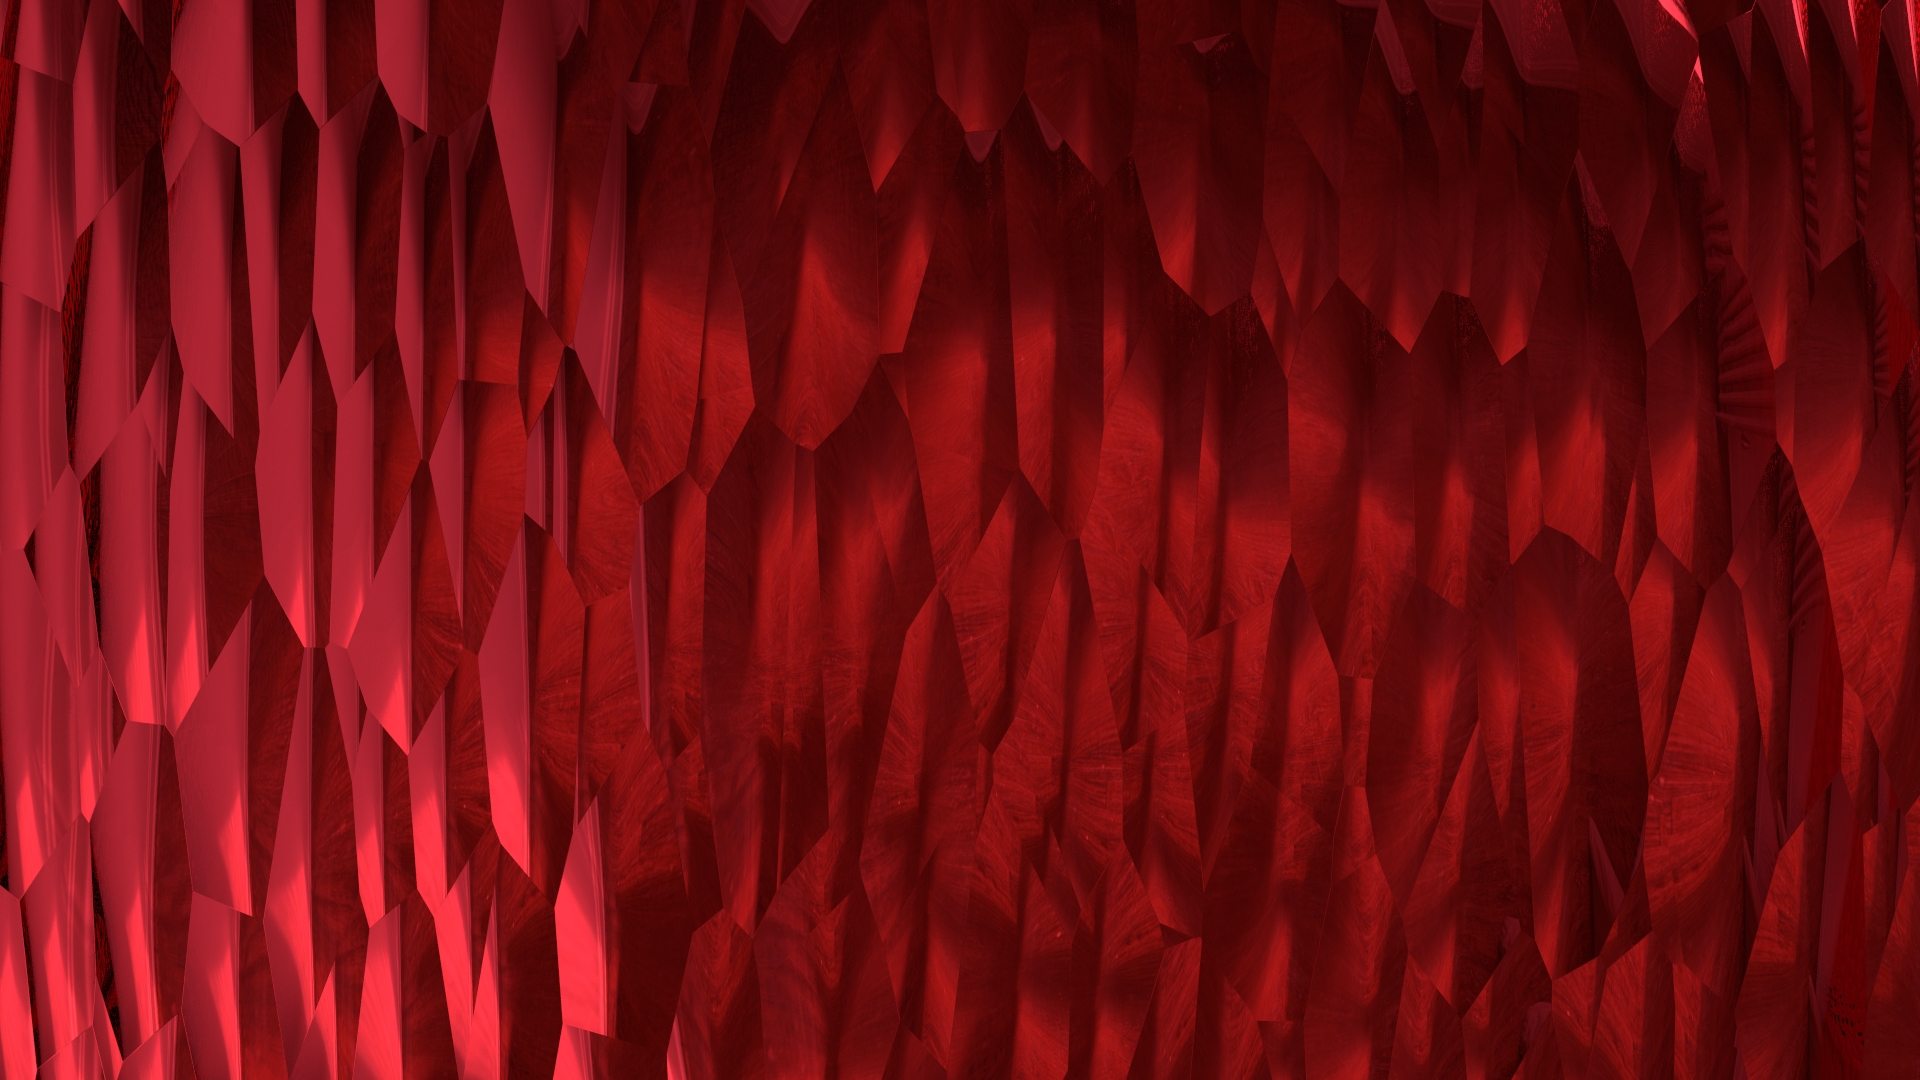
At the time, I was modelling a small gummi-bear type model. Having created the material for the small creature, I pressed the render button without thinking about where the camera was. What a surprise to see this.

red cut gem wallpaper

It warrants some serious experimentation, but will have to live at the bottom of a fairly long ‘to do’ list.

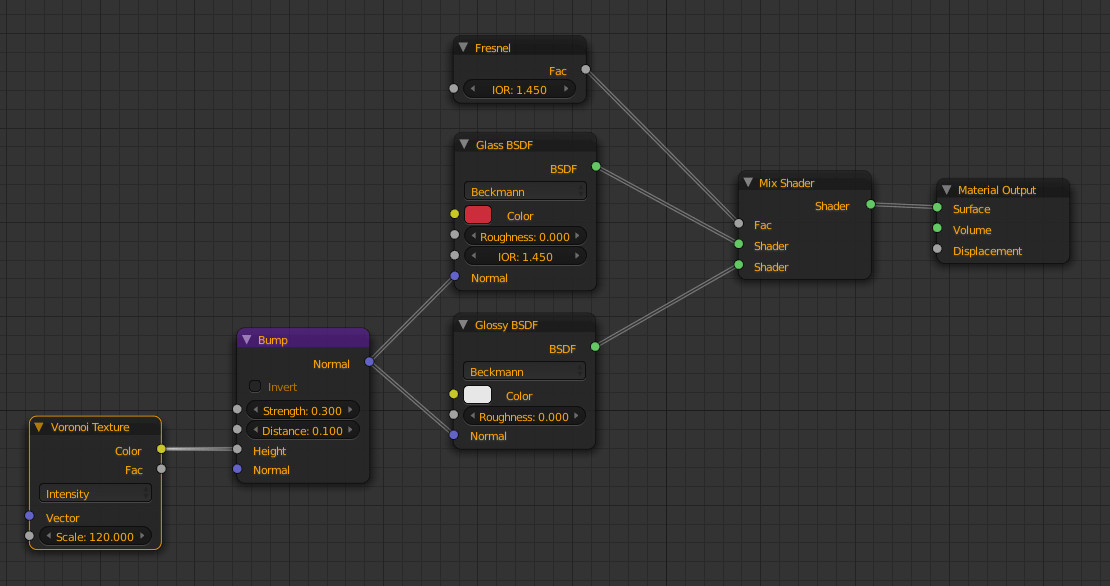
The material is really simple, but will need an HDRI environment to make this really work.

gummi bear material

Just create a simple model, apply the texture and place your camera inside your mesh. Voila! Magic. Now fiddle around with the camera’s lens length and scale your model in different directions without applying the scale.